Plan water before the boards
Drainage should be discussed early, especially for an elevated deck or a patio close to a sliding door. A beautiful surface can still create problems if water stays against the house, under the stairs, or around supports.
On the South Shore, rain, snow, freeze, and thaw all test the details. Site slope, downspouts, circulation areas, and airflow below the deck affect durability as much as the material choice.
- Watch the yard after heavy rain and during spring thaw.
- Locate downspouts, drains, slopes, and areas that stay wet.
- Check where water falls from deck edges and stairs.
- Plan access below the structure before closing in the sides.
Direct water away from the house
The priority is simple: water should move away from the foundation and walking areas. A deck should not send more water toward the wall, low windows, stairs, or planting beds that are already saturated.
Downspouts can often be extended or redirected, but the path should remain practical to maintain and suitable for the property. If a major change is planned, confirm municipal or condo requirements before work begins.
- Avoid letting water drop directly onto stair stringers or walking areas.
- Keep a visible slope away from the house where the site allows it.
- Do not hide drain outlets behind fixed skirting or panels.
- Plan an outlet that will not create ice on a winter walking path.
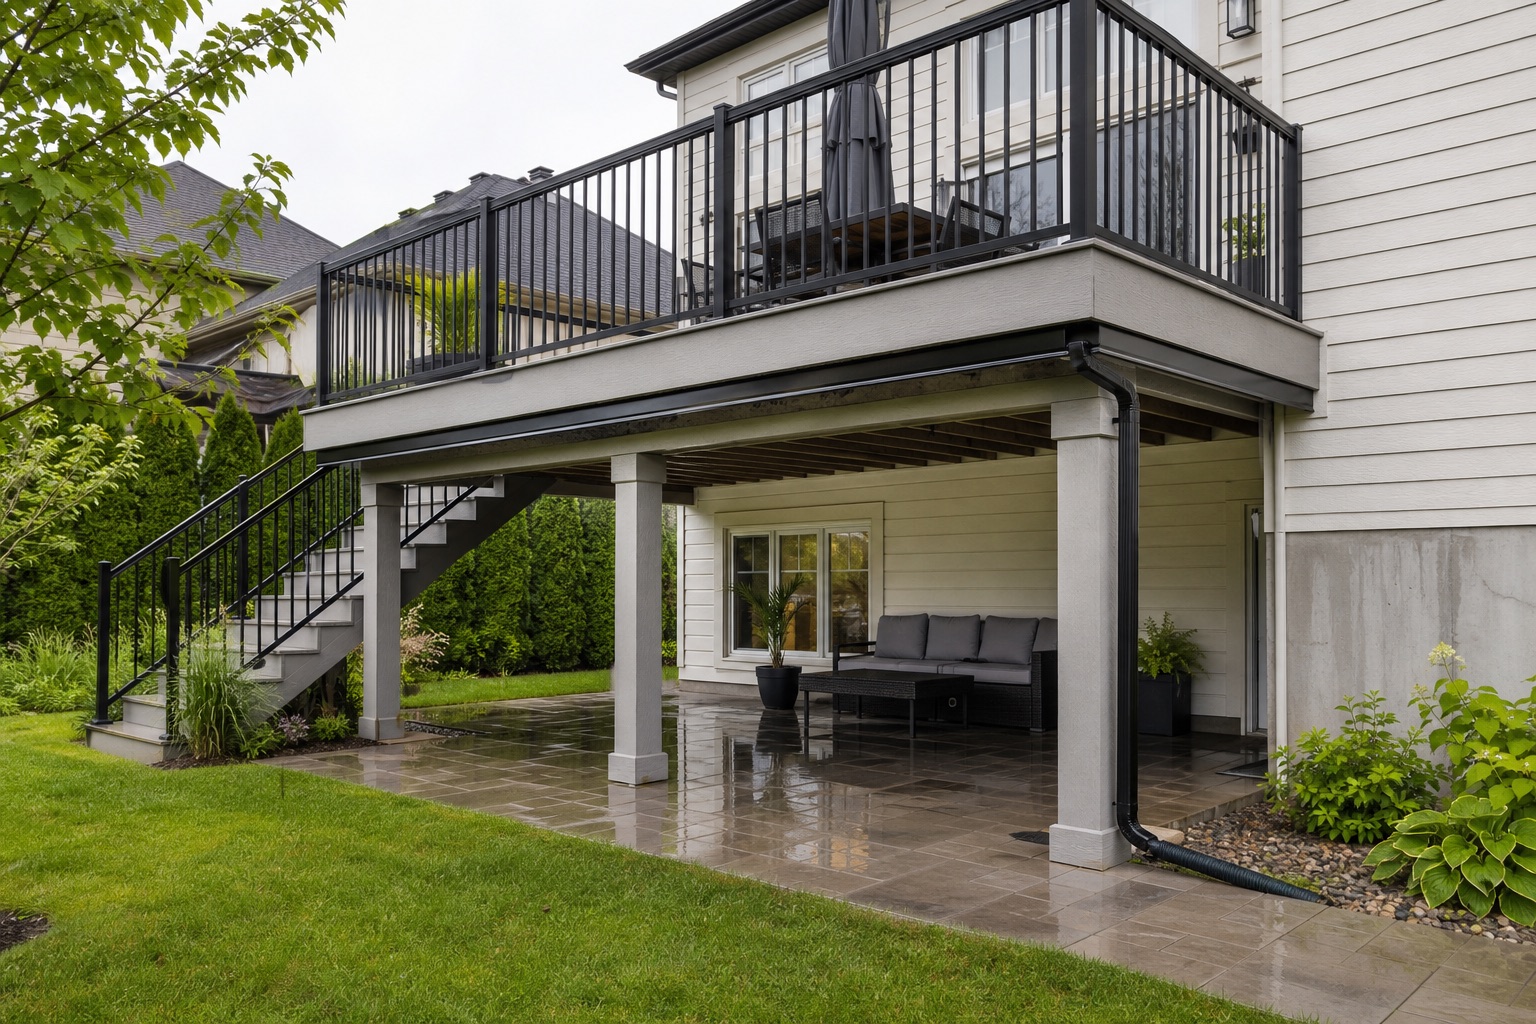
Choose the right under-deck solution
Not every deck needs a complete under-deck system. For some projects, an open, well-ventilated structure that is easy to inspect is enough. For others, the homeowner wants a drier space below the deck for a lounge area, seasonal storage, or a sheltered passage.
The right choice depends on deck height, intended use, budget, desired finish, and how easy the system will be to access for future maintenance.
| Solution | Useful for | Plan for |
|---|---|---|
| Open structure | Airflow, easy inspection, and a simpler cost | Accepting that water will fall below the deck |
| Joist tape or protection | Protecting certain exposed framing details | Clean installation without trapping moisture |
| Under-deck drainage system | Creating a drier space below an elevated deck | Slope, gutters, outlets, and maintenance access |
| Skirting or side panels | Visual finishing and discreet storage | Airflow, access doors, and a clear water exit |
Keep airflow and access
Closing in the underside of a deck can look cleaner, but the structure still needs to dry. Panels, skirting, storage, and screens should allow air movement and make it possible to inspect joists, fasteners, drains, and water outlets.
Access also matters after construction. Leaves, needles, sediment, snow, and small objects can collect in hidden areas. A detail that is hard to reach is usually harder to maintain well.
- Plan removable panels or an access door if the underside is enclosed.
- Let air move around framing and supports.
- Avoid pushing seasonal storage tight against joists.
- Keep points that need cleaning or inspection visible.
Think about snow, freeze, and thaw
A detail that works in summer also has to survive winter. Snow can block a water outlet, ice can form below a poorly placed downspout, and thaw can send a lot of water quickly toward the same low points.
Surfaces below the deck should stay easy to clean and observe. Downspouts, gutters, and outlets should be placed to avoid main paths, stairs, and places where ice would become a safety issue.
- Avoid water outlets at the bottom of stairs.
- Plan where shoveled snow will collect around the deck.
- Keep gutters and downspouts reachable for cleaning.
- Watch the first spring after installation and adjust if needed.
Prepare the right questions for the estimate
Before the estimate, take photos of the yard after rain, downspouts, slope, foundation, stairs, and the space below the existing deck if there is one. These images make the discussion much more concrete.
Also explain what you want to do below the deck: simple service access, storage, lounge seating, a sheltered walkway, or a fully finished area. The answer changes the drainage, airflow, framing, and finishing details.
- Ask where water will be directed after construction.
- Confirm how the underside of the deck will stay ventilated.
- Plan any access panels or doors needed for maintenance.
- Discuss downspouts before choosing the final finish.
Planning a deck on the South Shore?
Send your approximate dimensions, photos, city, and preferred material. We will help you compare realistic options before construction starts.
Request an estimate